DIY vs Professional Outdoor Kitchen Installation: What You Need to Know
Should you build your outdoor kitchen yourself or hire a pro? Compare costs, timelines, and risks of DIY vs professional installation in Charlotte.
Sarah Reynolds
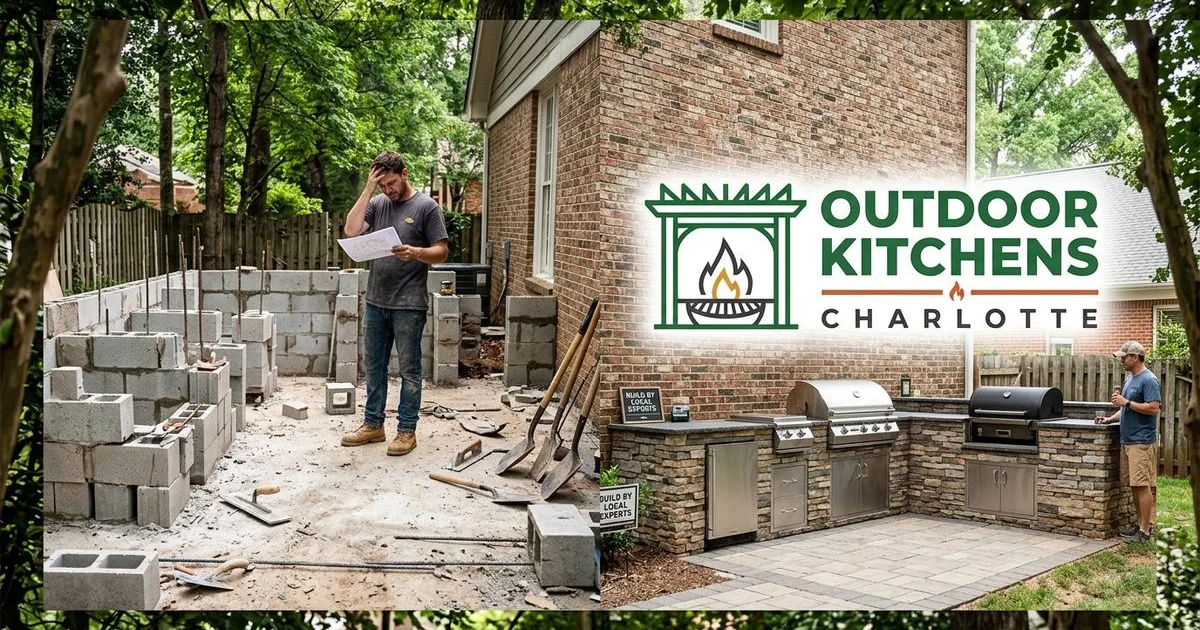
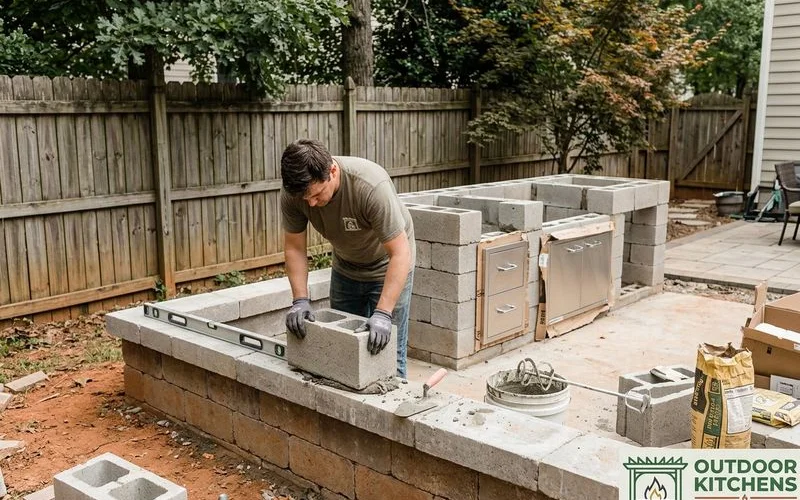
You have probably seen those viral videos where someone builds a backyard oasis in a single weekend. They stack some cinder blocks, drop in a grill, and suddenly have a perfect entertainment space.
Our professional service team sees the aftermath of these rushed projects all the time.
A 2025 industry report shows that a well-built outdoor space yields a return on investment up to 200 percent. As Charlotte outdoor kitchen professionals, we want to help you achieve that value safely. This guide covers a DIY vs professional outdoor kitchen installation to help you decide.
The Case for DIY
Cost savings represent the biggest draw for ambitious homeowners. Recent 2025 data from Angi puts the average US professional outdoor kitchen installation at $16,424. A luxury setup easily exceeds $50,000.
Doing the work yourself eliminates steep labor charges. Professional contractors typically charge between $50 and $150 per hour.
You can lower your barrier to entry by using prefabricated modular kits.
- RTA Outdoor Living: Offers custom-designed concrete composite panels.
- RTF Systems: Provides galvanized steel framing covered in waterproof boards.
- BBQ Coach: Sells structural steel frame modules that bolt together.
These modern systems accept standard drop-in appliances easily. This completely eliminates the need for custom cinder block masonry work.
Our experts acknowledge that the DIY route offers complete scheduling freedom. You can work at your own pace without managing contractor timelines.
The Case for Professional Installation
While DIY saves money on labor, hiring a professional brings necessary accountability and speed. Licensed contractors handle the most dangerous aspects of the job, like utility connections. Gas lines and electrical wiring must comply with local US building codes.
We handle these strict code regulations every single day. The permitting process for a standard outdoor kitchen costs anywhere from $200 to $2,000 based on recent estimates. A licensed pro manages this entire process and schedules the required inspections.
Speed is another major advantage of hiring a professional crew.
- Professional Timeline: 2 to 4 weeks for a complete build.
- DIY Timeline: 3 to 6 months of weekend work.
- Inspection Delays: Homeowners often fail first inspections, adding weeks to the project.
Professionals also provide critical material and labor warranties. If a stone veneer cracks or a drainage pipe fails, the contractor absorbs the repair cost.
DIY vs Professional Outdoor Kitchen Installation: Cost Comparison
Let us break down the real cost differences for a mid-range US outdoor setup. This project includes a built-in grill, countertops, a sink, and a refrigerator in an L-shaped layout.
We find that visual breakdowns help clarify the financial differences quickly. The table below highlights average costs based on 2025 market rates.
| Expense Category | Professional Cost | DIY Cost (Kit Based) |
|---|---|---|
| Design & Permitting | $1,000 to $3,000 | $200 to $800 |
| Structural Frame | Included in labor | $3,000 to $5,000 |
| Appliances | $4,000 to $8,000 | $4,000 to $8,000 |
| Finish Materials | $3,000 to $7,000 | $3,000 to $7,000 |
| Utility Labor | $2,000 to $5,000 | $2,000 to $5,000 |
| General Construction Labor | $6,000 to $12,000 | $0 |
| Total Estimated Cost | $16,000 to $35,000 | $12,200 to $25,800 |
These substantial DIY savings come with important caveats. The lower estimate assumes you make zero expensive mistakes during construction.
Our cost analysis also assumes you already own the necessary specialty equipment. Renting wet saws, concrete mixers, and scaffolding adds up quickly.
Skills Required for DIY
An honest skill assessment prevents disastrous halfway-finished projects. You need high-level competency in multiple distinct construction trades.

Concrete and Masonry Work
Pouring a proper foundation pad is non-negotiable for structural integrity. You must know how to level footings accurately.
We recommend using a 4000 PSI concrete mix for maximum durability. Masonry skills are also required for applying scratch coats and setting heavy stone veneers.
Precision Countertop Fabrication
Installing outdoor countertops involves much more than dropping a slab into place. You must make precision cuts for heavy drop-in grills.
The surfaces must be perfectly level to ensure grease drains properly into the drip pan.
Critical Waterproofing
Water is the absolute biggest enemy of your new outdoor structure. You have to apply membrane barriers correctly to prevent internal rot.
Our team always emphasizes proper slope and drainage away from the base. Structural longevity completely depends on this step.
Common DIY Mistakes to Avoid
Learning from other people’s errors will save you massive amounts of frustration. Our inspectors see the same structural failures repeatedly in backyard projects.
Avoiding these common traps is absolutely crucial for long-term safety.
Ignoring Clearance to Combustibles
This is a severe fire hazard that many beginners completely overlook. The National Fire Protection Association (NFPA) requires 36 inches of clearance between gas cooking equipment and combustible materials.
You must use a factory-manufactured insulated jacket if installing a grill into a wooden frame.
Pouring Inadequate Foundations
Standard topsoil expands when wet and contracts when dry. This constant movement destroys heavy structures built on weak, shallow footings.
We mandate a minimum four-inch reinforced concrete pad for all builds. The base should extend at least six inches beyond the kitchen footprint on all sides.
Skipping the Waterproofing Membrane
Omitting this protective layer causes hidden structural damage over time. Rain easily penetrates stone veneer mortar and reaches the interior frame.
You must apply a liquid waterproofing membrane over your cement board before tiling. Products like RedGard or Laticrete Hydro Ban work exceptionally well for this application.
The Hybrid Approach
You do not have to choose strictly between full DIY and full professional installation. A hybrid approach offers an excellent middle ground for ambitious homeowners.
Homeowners often tackle the prep work to build immediate equity. You can split the project safely using this strategy.
- DIY Tasks: Demolition, site excavation, painting, and installing non-gas accessories.
- Professional Tasks: Gas line plumbing, electrical circuits, countertop fabrication, and custom masonry.
This balanced strategy can reduce your total costs by 10 to 20 percent. You get the satisfaction of contributing without risking dangerous gas leaks.
Our designers highly recommend this path for capable weekend hobbyists. It protects your financial investment while keeping labor costs reasonable.
Making Your Decision
Your final choice depends entirely on your free time, construction skills, and risk tolerance. A fully professional build offers total peace of mind, while a DIY project provides substantial financial savings if executed flawlessly.
Our outdoor kitchen installation team handles every single phase of the build from start to finish. Your new space will meet all national building codes perfectly.
We deliver a stunning cooking area that lasts for decades. Contact us today to start designing your perfect backyard retreat.
Sarah Reynolds
Content Editor & Outdoor Living Enthusiast
Charlotte-based home improvement writer specializing in outdoor living.